

Helping Your New Plants Get the Best Start
By Tish Berge, CNPS Garden Ambassador
So you’ve selected your native plants, picked them up, brought them home, and now the fun begins: planting!
Native plants have very different requirements from non-native plants. For example, they don’t want or need soilamendments and they need different care in order to get established. However, some aspects of planning your native garden remain the same, like picking the right location for a plant based on sun exposure, mature size, and companion planting. This article covers:
-
Learning about your plant
-
Preparation and digging the hole
-
Watering: during planting, after planting, and the first year
Learning About Your Plant Let’s start with the similarities. You’ll want to learn all about your plant, what it needs, and what it may become. You’ll need to know a few basics about your plant to make sure you pick a location in your yard that will help your plant thrive. At a minimum, it is very helpful to understand how much sun the plant requires, whether it does best on a slope or in a drainage area, how big it will get, and how much water it needs. In addition to that, you may want to explore what plants it likes to be near, also called companion planting. One wonderful resource for finding this type of information is Calscape (www.calscape.org), which provides a plant description (size, form, growth rate, dormancy, flower color/season), wildlife supported, landscaping information (sun, soil, and moisture needs), and information on the natural setting and climate for this native. Other considerations include whether the plant drops litter and/or berries and proximity to areas where a “messy” plant may be less desirable. One example is Toyon (Heteromeles arbutifolia), a lovely plant that produces berries for the birds, but some of those berries will drop to the ground and could stain concrete. Another is a Laurel Sumac (Malosma laurina) that naturalized in my yard, but is near the neighbor’s pool – not the best when it drops its flowers.
Preparation Now, on to the unique qualities of planting natives. This article is based on (a) information from the CNPS website (https://www.cnps.org/gardening/prepping-and-planting); (b) information I’ve gathered over the yearsby attending the CNPS-SD seminars; (c) experience from planting in my own yard; and (d) information gleaned from books and nurseries. As you can imagine, there are many sources.
Digging the Hole In preparing to plant your native, you’ll want to dig a hole (okay, I admit, maybe that belonged above in the “similarities” paragraph), and the hole will be sized as follows: twice as wide as the container and half again as deep. So, if your plant is in a gallon container, you are looking at a hole that is about 16 inches wide by 9 inches deep.
Watering During Planting Now, if you were to simply place the plant in the hole at this point and backfill with soil, the dry soil would leach any moisture from the plant and the plant would die. To prevent that and to provide a good start to your plant, you’ll need to fill the hole with water and let the water drain. I like to do this twice to make sure the area surrounding where the new plant will be placed is moist and will not steal water from the plant. While the water is draining from the hole, also water the potted plant itself and work on berms. Berms are concentric rings around the planting hole that divert anyrain or irrigation to the plant. I’ve been practicing with the Tree of Life method of having two concentric circles, but have had success with just one in the past.
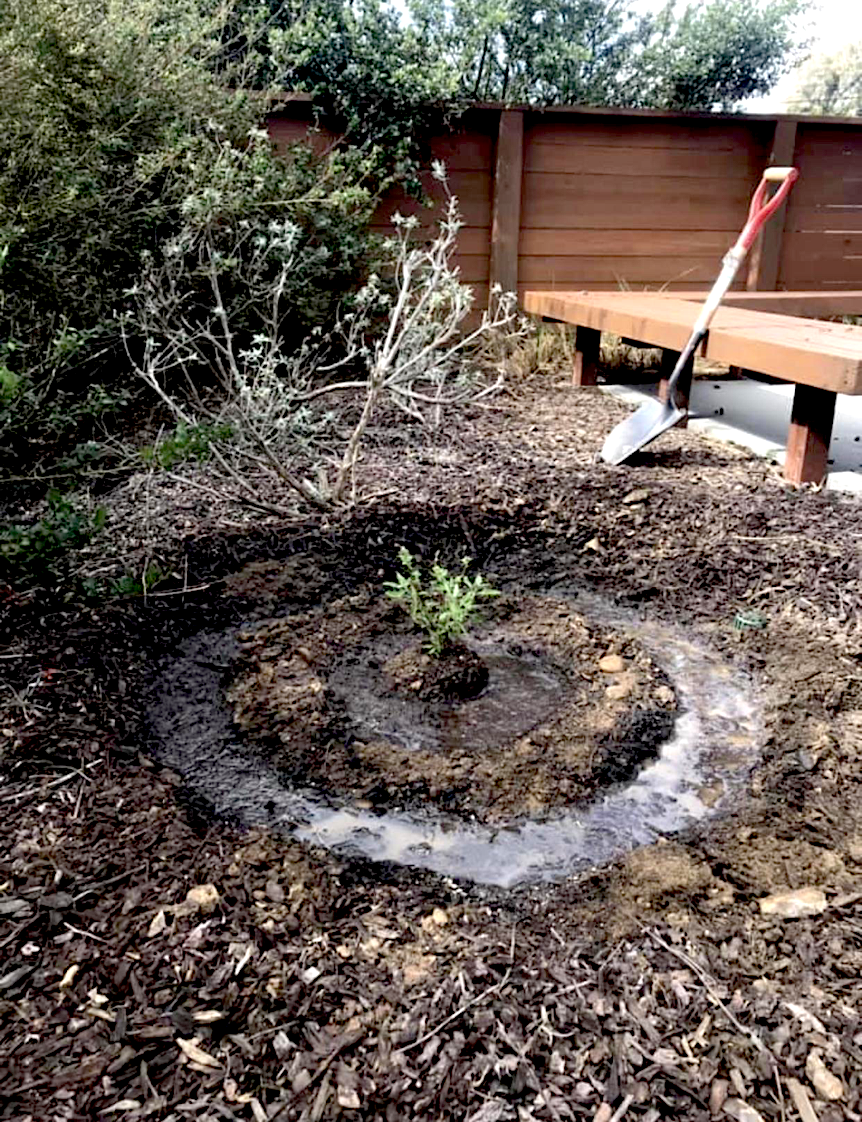
Here is a picture of a planting from last fall’s sale, a Cleveland Sage from a 1-gallon pot, with two concentric rings.
Watering After Planting Once the plant is placed in the hole, gently backfill the dirt (this will be dry dirt excavated from your original hole), being careful to keep the crown of the plant above the waterline so as to avoid crown rot. Then water deeply again. Yes, I know you already watered the hole, but now there is dry soil next to your tender new plant, and we don’t want it robbing your plant of moisture. As a final step, add mulch to hold moisture in the soil, being sure again to keep the mulch away from the root crown.
Watering the First Year Although most natives are drought tolerant once established, they need some help in the beginning. During the first 3 months after planting, keep the root ball moist but not soggy. If there is rain, you may not need to water at all, but if there’s no rain (and depending on the weather), you may need to water 1 to 2 times per week in the first few months. After those first few months, you can back off to watering every 2 to 3 weeks if there is no rain. This type of extra care is needed in the first year to get the plant established. After that point, it may need no additional water, but each plant’s needs vary, and there are many different opinions on supplemental water for natives–way too much to cover in this article. For more information, see: https://www.californianativeplants.com/PDFs/Watering-Native-Plants.pdf
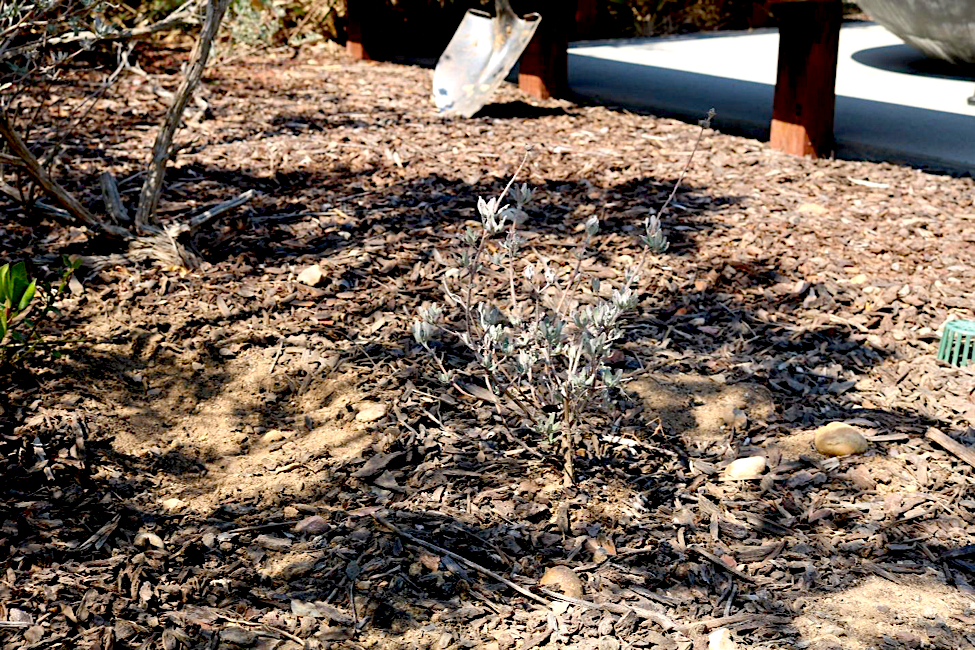
Now, about managing expectations. Not all of your new plantings are going to make it. But have faith and be patient. Here is the same plant after its first summer. It has struggled a bit, but it is alive and healthy.
Enjoy your new plants, and remember: “There are no gardening mistakes, only experiments” – Janet Kilburn Phillips.